Casa Giese: Bathroom Remodel Process & Progress
I’ve been wanting to share some of the latest updates we’re doing on our San Antonio house, so why not pick up with our girls’ bath? We tend to buy homes that have some room for updates or ways we can make it our own, and this house has been great in that we’ve been able to make aesthetic tweaks without having to undergo major overhauls. One of the areas I love, but that NEEDED some love is our girls’ shared bath. Like the rest of the house, it was well-maintained, but the finishes needed a little personality. One of the charming features about the bathroom is the original arched alcove tub, and pedestal sink that date back to around the 1930s. We believe the bathroom was re-tiled, and the tub and sink epoxied in the early 1990s - every inch of it in beige. Don’t get me wrong, I’m a fan of neutrals, but for young girls, it just felt a little underwhelming. Here’s some pics of where we started (not visible are the builder-basic medicine cabinet and vanity light.) ;)
BEFORE PHOTOS
The Plan
Our goals in refreshing the space were to break up the beige by replacing the floor tile, and work in much-needed storage. Although the wall tile isn’t original, it’s in great shape, was beautifully installed, and is neutral enough to be very work-able, so it was a no-brainer to keep it. The tougher decision involved the pedestal sink. I felt guilty changing something that’s original, and nearly 100 years old, but the need for storage was too great, and we opted to replace the pedestal with a vanity cabinet. To ease the pain of losing the pedestal, I worked with a cabinet maker on a custom vanity that will make a fantastic style statement, and provide a perfect amount of storage.
To plan the overall design, I went back to my trusty Bathroom Renovation Strategy:
To get an overall concept for a bathroom renovation, I break down the design into elements, and coordinate them so that they play well together. I usually start with tile, as I find it a huge source of inspiration, and often a good jumping-off point for the design. I place tile into sub-categories such as:
- Backsplash
- Main floor
- Shower floor
- Shower walls
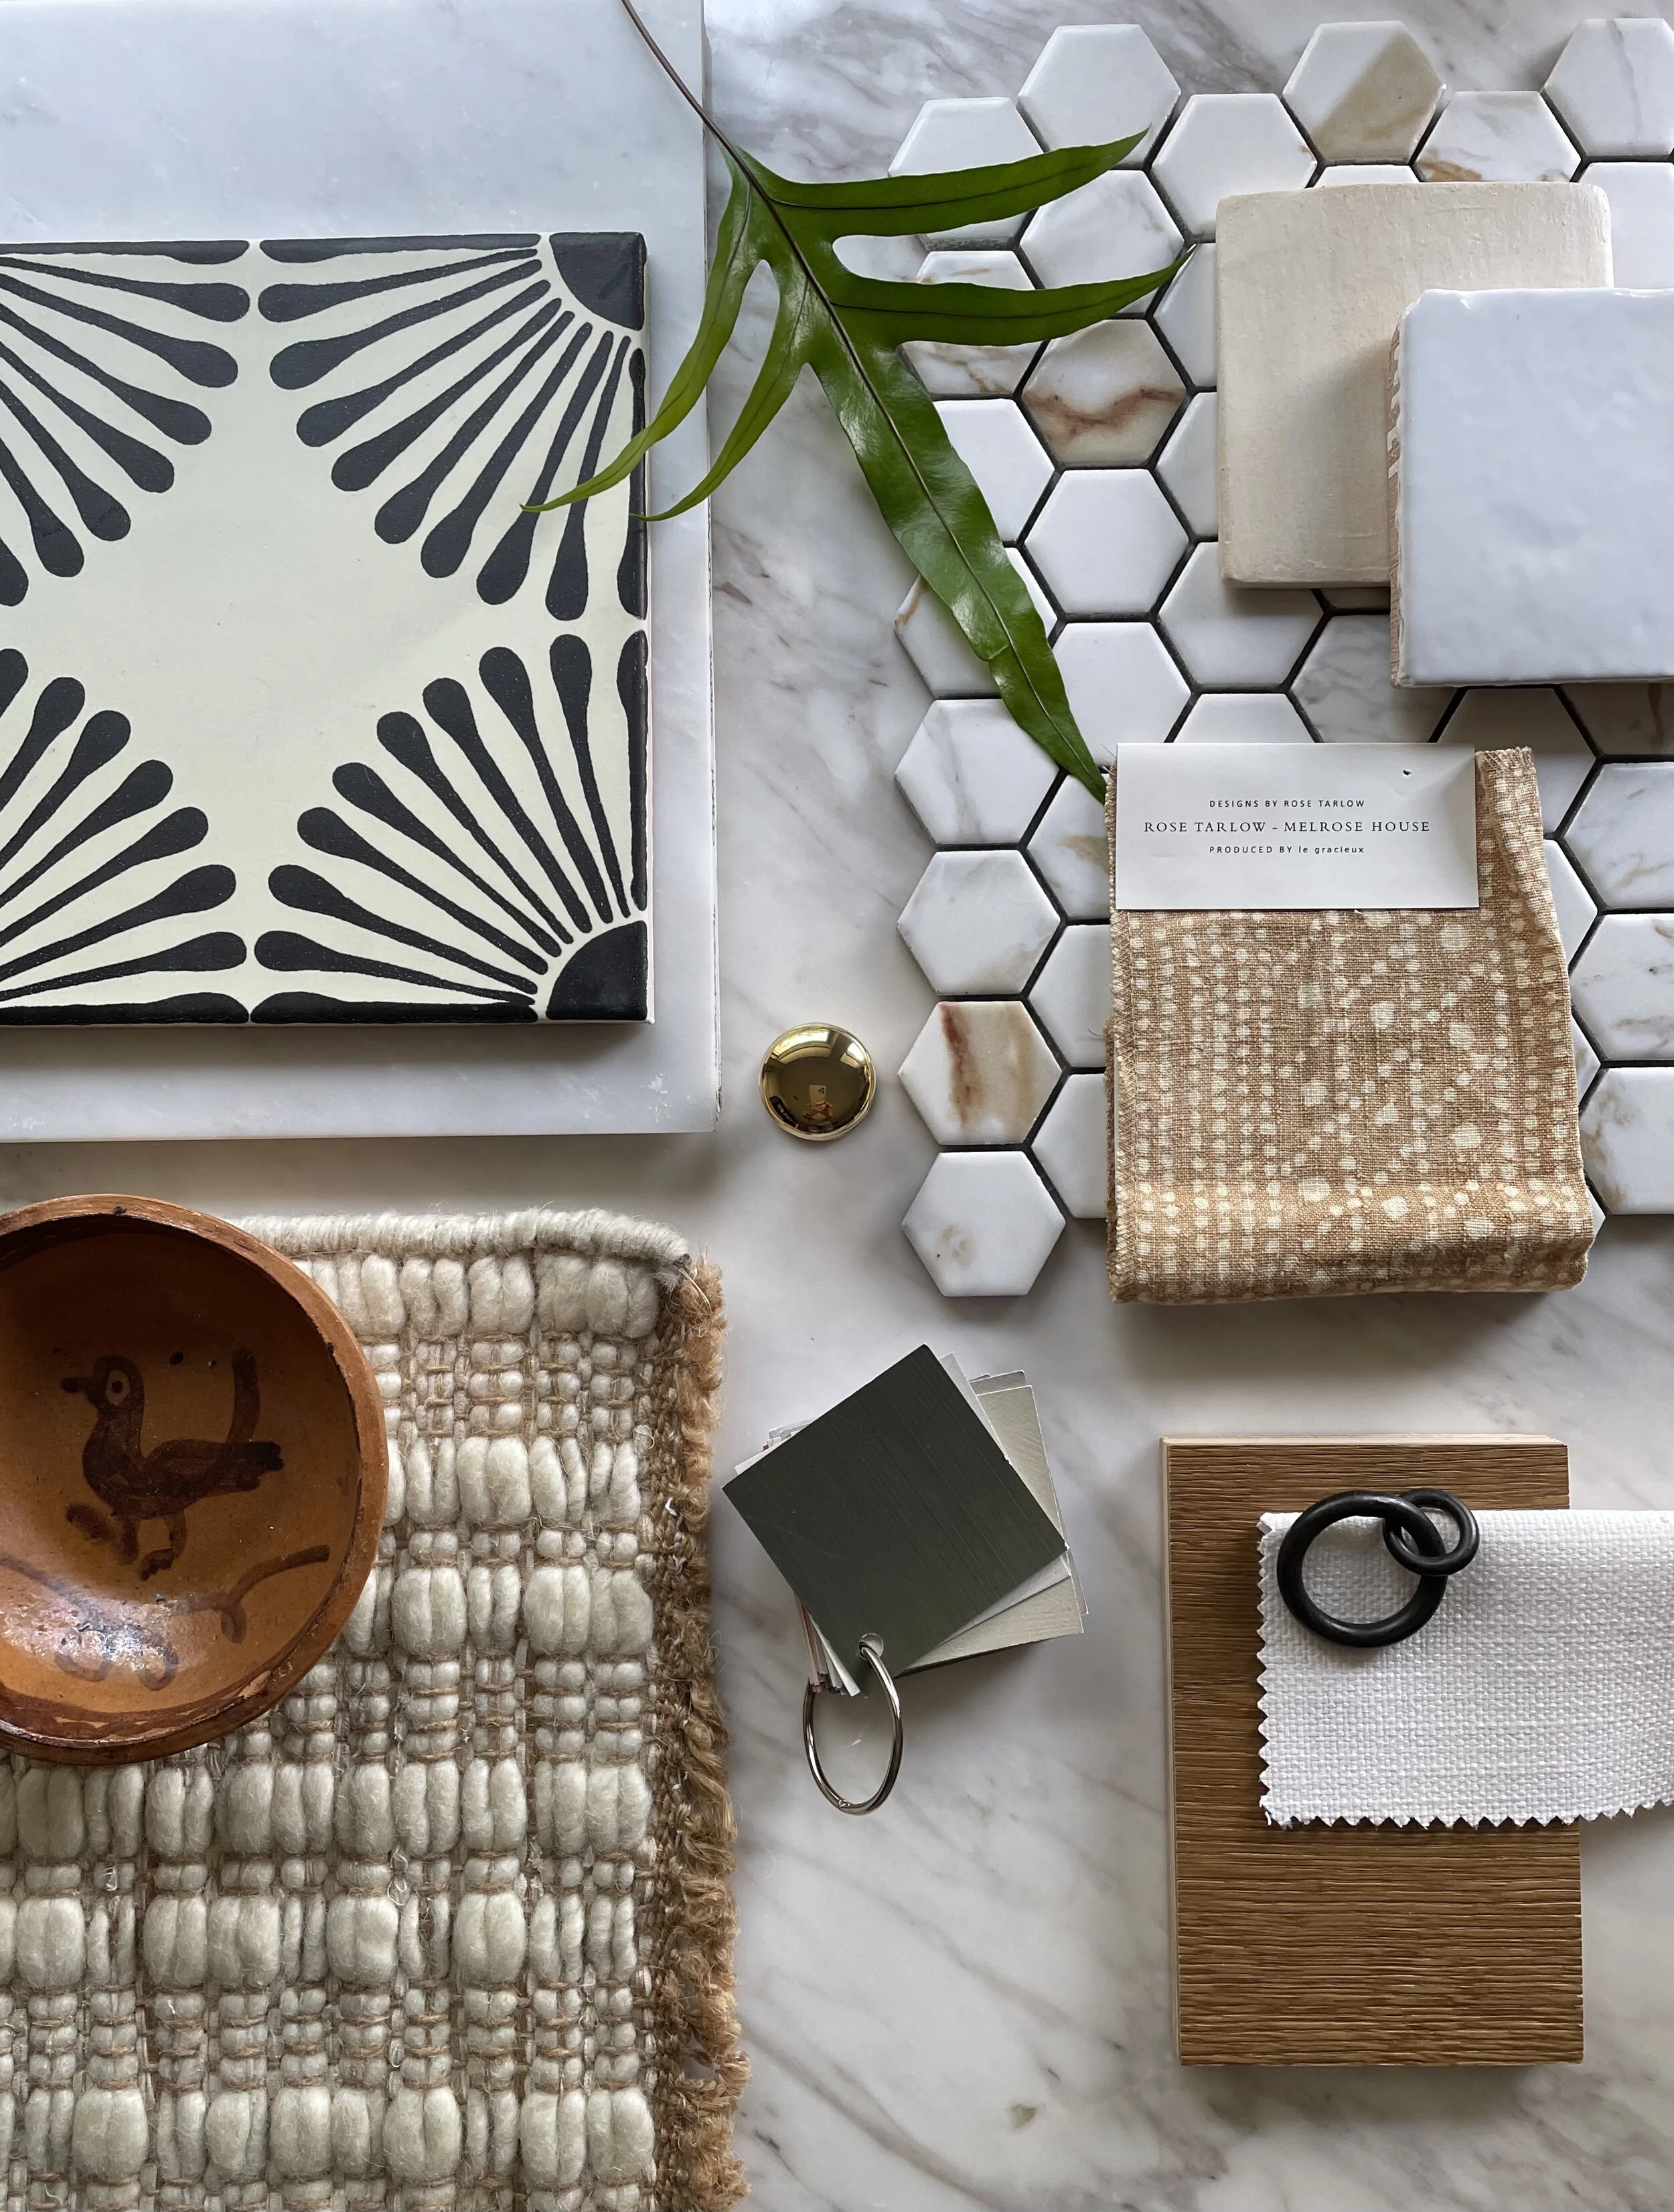
In this case, since we weren’t replacing anything but the floor tile, and would still have a lot of beige going on, I knew I wanted the floor tile to have visual impact, and found it with a black and off-white flower pattern from Clay Imports. Here’s a moodboard I put together to visualize the color palette together.
Next, the vanity, new plumbing, lighting, and mirror will be installed. (I can’t wait!)
A quick list of how these elements play into a bathroom design or renovation
VANITY
A great way to incorporate function and storage, and the right piece can provide visual warmth - something often needed in a sea of tile and hard surfaces. Depending on the budget, a vanity might be off-the-shelf, a found object, or custom-made. If storage isn’t necessary, a pedestal or wall-mounted sink can make a fantastic statement, while maintaining a lighter visual footprint.
PLUMBING FIXTURES
One of my favorite ways to direct the vibe of the bathroom. We take into account the size of the vanity, as well as the look we're going for when selecting faucets, typically picking classic finishes like polished nickel, unlacquered brass, and chrome.
MIRRORS
A mirror should complement the design. Framed or frameless, single or in multiples, they can work to make a statement, or quietly enhance. There’s great options out there for medicine cabinets that look like regular mirrors, too.
HARDWARE
Pulls and knobs on the vanity, as well as towel bars/rings, toilet paper holders, and hooks. These all serve a purpose, and should be considered in the design. I usually coordinate the finish of these “jewelry” pieces with the plumbing or lights.
LIGHTING
Good lighting is a must in a bathroom. Vanity sconces can add beauty and function. FYI: Face-framing light is most flattering! A waterproof recessed light is a must in the shower or over the tub.
Depending on the size of the space, there’s other decorative elements like wallpaper and furniture that can add to the overall bathroom style, but getting these core elements right sets the tone for an overall successful design.
I can’t wait to share more progress photos, and the big reveal!


